Sunday, May 19, 2013

Easel Drawer Box Tutorial

Hello There!

I finally got around to making my first tutorial for the 2 drawer box easel. Please excuse the photo quality as it is taken on my phone! Since it takes a bit of time for your first time I will go straight to the supplies needed and let you have some fun with making your own!

Materials:
3- 12x12 paper of your color choice
2- brads for the knobs
2- clothes pin small size (optional)
1- sheet of designer paper of choice
double sided tape
mono tape
scissors
small hole punch
skinny ribbon of choice/color


Step 1: Take your 3- 12x12 paper and cut it into the following sizes

1- 6 1/8 x 12 inches (the easel part)
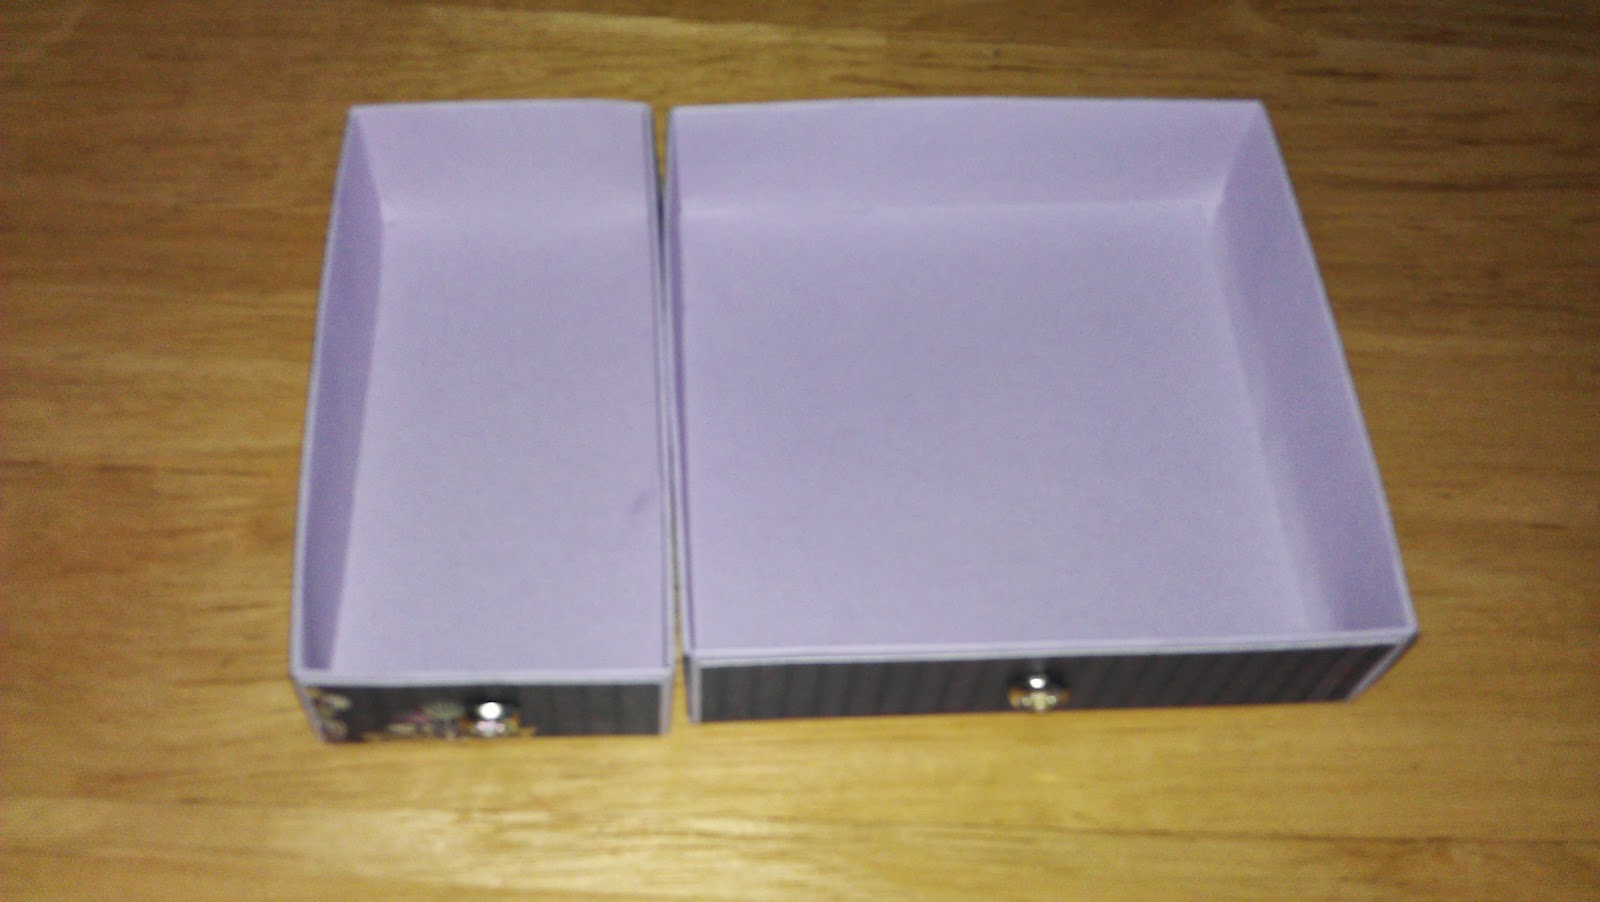
1- 8x8 inches (the 4x4 drawer)
1-6x8 inches (the 2x4 drawer)
2- 81/8 x 4inches (enclosed box to hold drawer)

Here is the 6 1/8 x 12 paper

Here are the 2- 8 1/8 x 4 paper

Here are the 8x8 and 4x6 paper

 Step 2: Scoring Paper you cut above

 - Take the 8x8 paper and score it at 1 inch, 2 inch, 6 inch, and 7 inches (this will be 1 inch apart for the score lines on each end)


- Change the paper into the other side and do the same scoring measurements. When you are done it will look symmetrical on all sides being scored.

Repeat steps for the 4x6 paper where the paper is scored at 1inch, 2 inch, 5 inch, and 6 inch


 - Take the 6 1/8 x 12 paper and score it at 4 inch, 6inch, and 8 inches


- Fold the paper like the below picture. This will be the Easel portion of the box.


Here is the side view of what it looks like

- Take the 2 sheets of 8 1/8 x 4 and score it 1 inch in from opposite ends. Remember that the right side is 1/8 more due to the cut of the page...so score at 7 1/8. The reason for this is to give room for the drawers to snuggly fit in when assembled.


- Fold the cored sides of the paper like below


Here is what it will look like above when glued with double sided tape

Step 3: Cutting the corners of the 4x4 and 2x4 boxes for assembly

- The easiest way I can explain this is to cut in 2 inches on one side which is the to the 2nd scored line and cut in 1 inch on the other side which is up to the 1st scored like only.


-Then cut diagonal across which leaves a triangle flap like below for assembling.


- Do this to the opposite side but be consistent of cutting the triangle flaps to face each other to make it easier for assembling. Hope you can see what I mean from my picture below. Continue doing this for all corners on the other side for both the 4x4 and 2x4 boxes.


This is the 2x4 box being cut already
- Once done cutting corners, fold all score lines for the boxes like the picture below


- Below is how the boxes look like with their scored lines folded


Step 4: Cutting designer paper

Cut the following:

3- 7/8x 3 7/8 strips (These are for the 2 sides and 4x4 drawer)
1- 7/8x 1 7/8 strip (This is for the 2x4 drawer)
2- 3 7/8x 6 inches (This will be for the easel top and bottom)


- Take these strips and glue them onto the boxes, sides, and easel portion first before assembling as it makes it easier.

Example of the designer paper on the drawers
 - You only need to glue on one strip of the 4x 6 1/8 as we will glue the other sheet inside
Example of DP on sides of box

- Below is how you should glue or mono down the easel portion of the paper.


Step 5: Hole Punching drawers

- You want to fold down the outer flap and place the hold punch in the middle and punch out so we can put brads in place for the drawers. Do this for both.


Example of outer flap folded down
Example of 4x4 after hole punched


 Step 6: Adding Ribbon

- Below I just took purple skinny ribbons and tied it together that fits snuggly around the top easel portion and cut the ends off when I am done.


Step 7: Assembly with double sided tape

- So cut and place the double sided tape down on the lower end of the scored line like the below picture for both boxes


- Take of the top side of the tape in this case the 2x4 box short end since it will bind the sides with the triangle portion.

- Below is how it looks like when you bring the triangles in to line up with the top flap not folded down yet.


- Below is the top flap folded down not continue on the other end to secure the flaps in place

- Below is the other end being binded, once done you can take the tape off on the longer side and fold down the top flap to finish off the box.


- Below is the finished box, do the same steps for the 4x4 box


- Once finished you can put on the brads for the knobs on the front side of the drawers


- Now take the strip that will have the boxes enclosed with, and put double sided tape on the sheet that you didn't glue the designer paper on like below


- Below is the two strips and I have the double sided tape strip folded to attach to the top portion


- Below is the tape side folded down, I would take the top strip and flush it to fit over the scored portion


 - Below is what it looks like taped


- Before you secure the other end, I would put the 2x4 and the 4x4 boxes in and secure the other end so the boxes will fit comfortably when done.

- Put double sided tape on the inner flap of the easel portion and tape the top flap down


- Below is the side view to show you where the tape goes, this will secure the ribbons you tied and help the easel sit in place.


 - Below is what it looks like taped down on a side view.


 - Now take the top easel and glue it on top of the box that encloses the 2 drawers


- Tah dah...now you are pretty much done!  I stamped a sentiment from Amy R "Get Well" set and popped it up on the box. I also used a picture this time clipped by mini cloths pin instead of the calendar's. So you pretty much can make it into anything you want. Hope this tutorial helps! So sorry for those of you wanting to do it sooner but with no tutorial.


Please feel free to give me feedback how this went if you are going to try it.  I tried to be specific and visual as much as possible.  Thanks for stopping by and bearing with me for the long tutorial =)

Saturday, May 11, 2013

Happy Mother's Day

Hello There!

How is everyone doing? Life has been hectic a bit so been MIA here in blogland...I been wanting to craft but haven't got a chance to either. However, I got creative with a different medium...FLOWERS!! I had a request to make some flower arrangements this weekend to celebrate Mother's Day. I don't do this often so a bit rusty and try to wing it with what I picked up.  This morning I trekked my way to Downtown LA to shop at the Flower district and decided to get extra flowers to make my visit worth while. I ended up spending more than I expected since I got side tracked from all the beautiful flowers and ideas all around. It was quite fun as if I was at a Michael's arts and crafts store where I get stuck at moments lol...Any who...I was able to make 5 arrangements of different sorts using what I got and felt quite accomplished. It's nice to have the sun out this weekend here in California. Hope all you mothers out there have a great weekend filled with awesome food, laughter, and great company as you are Amazing for what you do and continue to do!


Here are all the flowers I got

This is the top of the tall arrangement
Here is the side view. I added the bow and used glue dots to hold it in place =D
This is a round smaller arrangement
Top View
The last 3 arrangements
Top View
Top View
Top View

Wednesday, April 24, 2013

The Horizon

Hello!

So remember my Paris painting I shared a while back...well...I had so much fun that I took advantage of Wine and Canvas when it had locations nearer to home. My hubby and I did a date night with my sibling and a friend couple. The painting is called Blue Horizon which is pretty cool because you paint a half and your significant other paints the other half.  It was my hubby's first time and he really made it his own towards the end of the night...LOL I got to sit back and relax a lil while he finished painting hehe. It's nicely hung over our TV on the wall =) I definitely recommend it to anyone of all ages. It's such a nice twist to art and you have bragging rights that you painted when people inquire the awesome art work ;P


There he is so proud of his...I mean our finished product!

Thursday, April 18, 2013

Bon Vogage~!

Hi There!

Just have a quick share of something that I made for Linda. I have been wanting to make this long long ago...since she broke her mug for her replacement.  With the limited time I have, I finally did it...LOL I used a travel DP for a 12x12 card stack which is my favorite! She loves to travel too so makes it perfect =D I got the mug from starbucks and used Travel Anya for the image. There was a tag on the paper so I decided to personalize it for her which came out so cute! The mug had a glare so I took pictures of it laid out flat so you can see better. I sprayed it with a gloss finish that acts like modge podge without the mess.


Wednesday, April 10, 2013

Bling It

Hello There!

How is everyone hanging for the week? I am trying to pace myself to get a great amount of work done before I leave for Hawaii...so my posts will be short...as if it's not already short...lol Just sharing a simple card that was made for make and takes at the Carson Show. It measures at 3x4 using Cheeky Glamour.  The bottom corners are rounded with a punch and blinged with pearls I colored purple to match her dress. Thanks for stopping by and take cares!


Sunday, April 7, 2013

Some Fairy Dust

Hello!

I am popping in today since it's Eva's Birthday from Yumi&Fumi yay!!! Swing by her blog and wish her a wonderful day!! Make sure you follow her blog as well if you haven't already as she has some amazing talent brewing on over there =D

Eva...Happy Happy Birthday!!! Hope your friends and family spoil you rotten and many more to come. Thanks for always sharing with us your inspirational creations!

Anyhow...let's get to the card shall we? As I was thinking what to make for her...I saw the ATS April release and it got me excited from seeing all the cuteness going on over there so decided to ink up Sweet November Fairwee Piper which I haven't had a chance to ink yet.  So decided to go with a blue and green scheme and pop the card with green gems and rolled roses. Man oh man are the rolled roses pretty, but is a lil bit of work rolling them that tight and detailed. Both banner and rolled roses die cut are from La La Land crafts.  What's also cool is that I get to enter this into the ATS challenge of "Winged" things.  I used the sentiment from TGF's fairy princess clear stamp set to finish off the card.  Thanks for stopping by and hope you have a nice week ahead!


Wednesday, April 3, 2013

Embark on a Journey

Hello There!!

I have an Oliver card to share today! I love this OA-Journey set but never got around to inking it up.  So glad I did because now I want to use it even more =) The card base is grey which I lined it with a light blue and a travel designer paper. I masked his hat and gave him a distressed sac and pants look. The colors came out so awesome, if you would like to try it is Egg Shell and Light Carmel Copics.  I finished it off by adding buttons with twine on stampin up tag punches and handwritten the sentiment. I also embossed the tag base layer with polka dots can you tell??? Anyhow going to get to enter this into the FFF challenge and The Retro Fresh Challenge so come join the fun! Happy Hump Day!